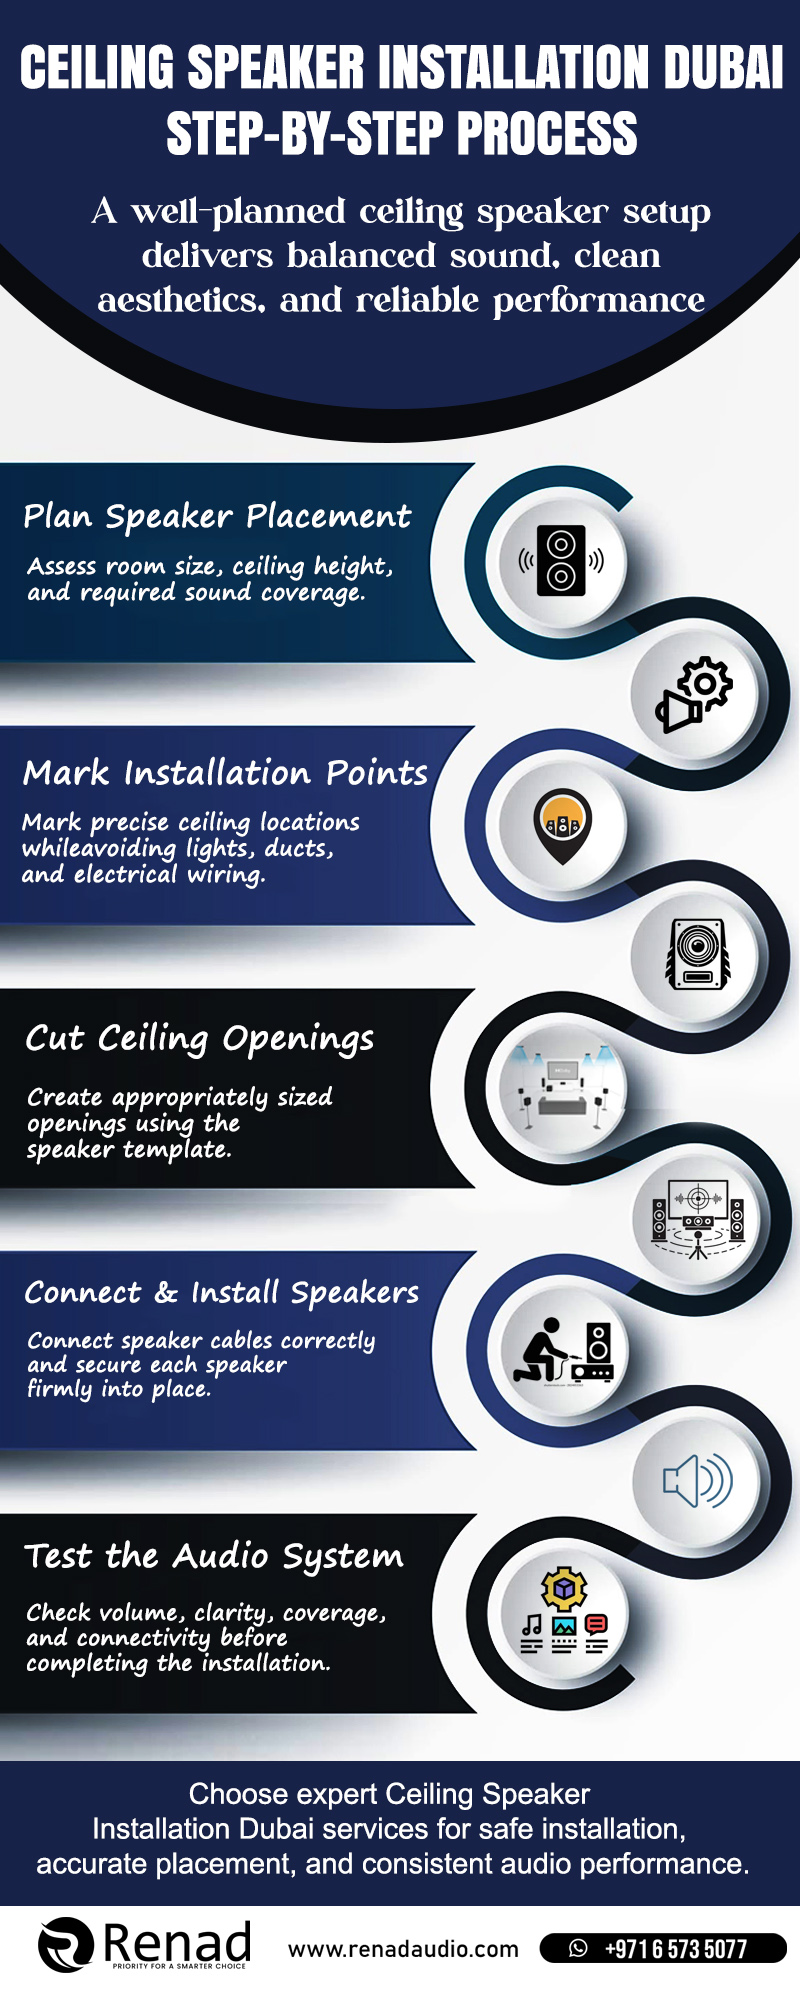
1. Plan Speaker Placement
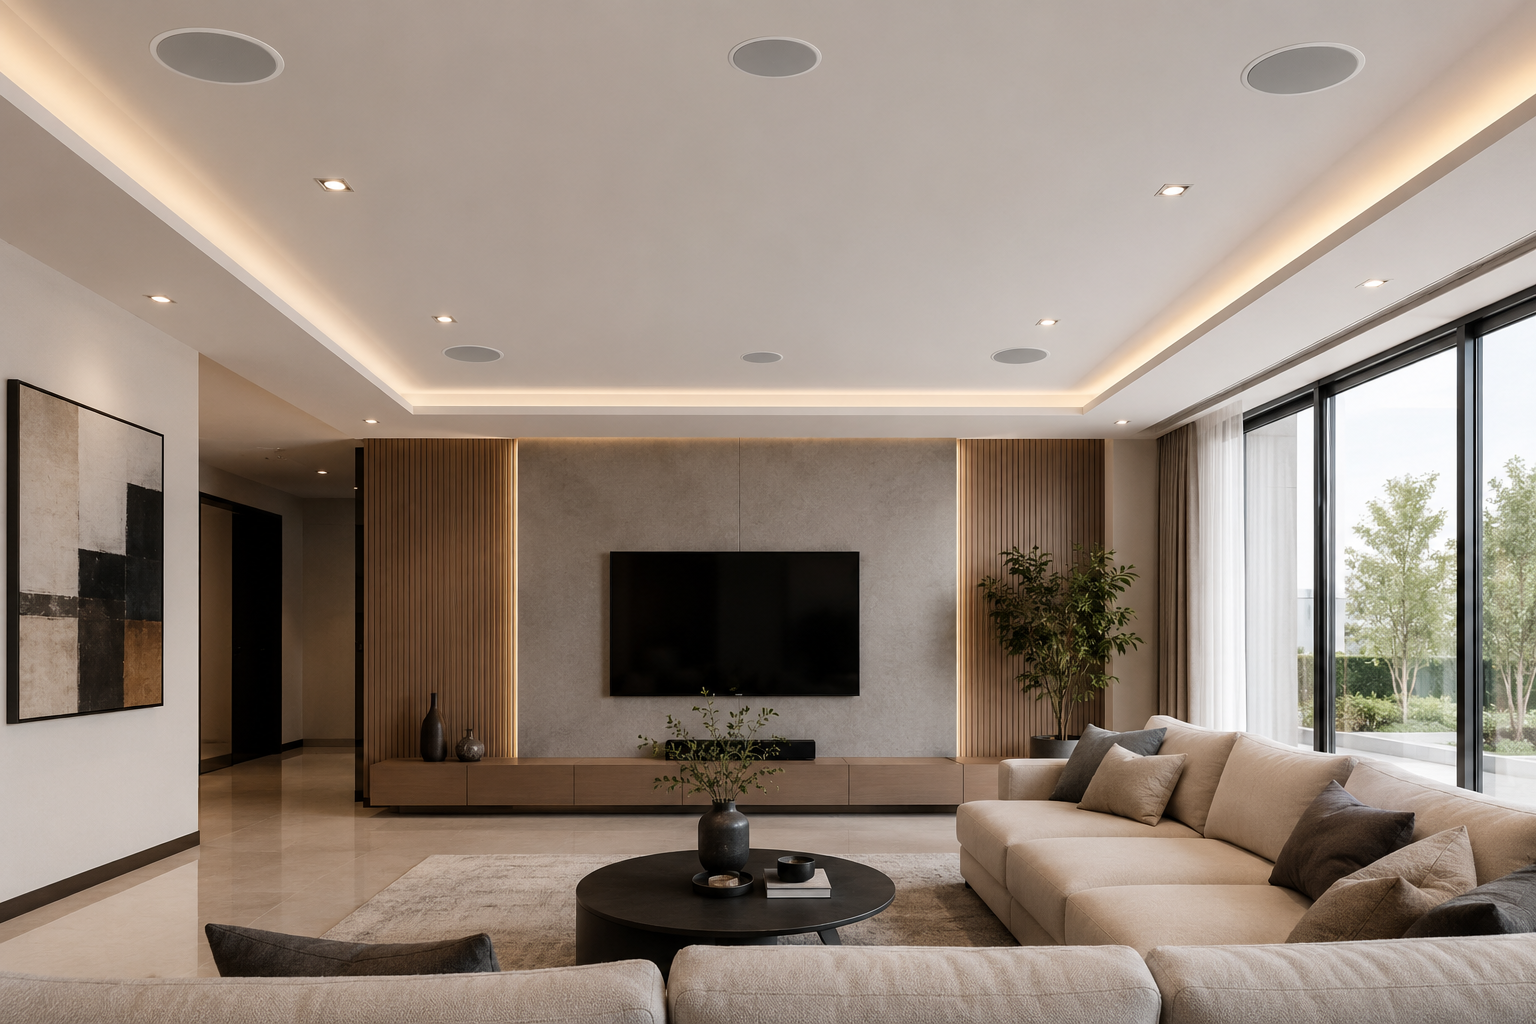
Start by assessing the room size, ceiling height, layout, and required sound coverage. Proper ceiling speaker positioning helps distribute audio evenly throughout the space while avoiding areas with weak or excessive sound.
2. Mark Installation Points
Once the placement is planned, mark the exact ceiling locations for each speaker. Installation points should be positioned carefully around lighting fixtures, air-conditioning ducts, structural elements, and existing electrical wiring.
3. Cut Ceiling Openings
Use the manufacturer's speaker template to mark and create the correct-sized ceiling openings. Accurate cutting ensures the speakers fit securely and provides a neat, professional appearance.
4. Connect & Install Speakers
Connect the speaker cables correctly and ensure all connections are secure. The speakers can then be carefully positioned and firmly mounted into the ceiling according to the manufacturer's installation requirements.
5. Test the Audio System
Testing is an essential final step. Check volume levels, sound clarity, coverage, connectivity, and overall audio performance. Any issues should be adjusted before completing the installation.
Frequently Asked Questions
Upgrade Your Space with Professional Ceiling Speaker Installation in Dubai
Get reliable installation, accurate speaker placement, clean finishing, and consistent sound performance with expert audio solutions from Renad Audio.
Contact us today to discuss your ceiling speaker installation requirements.